
 Save
Save
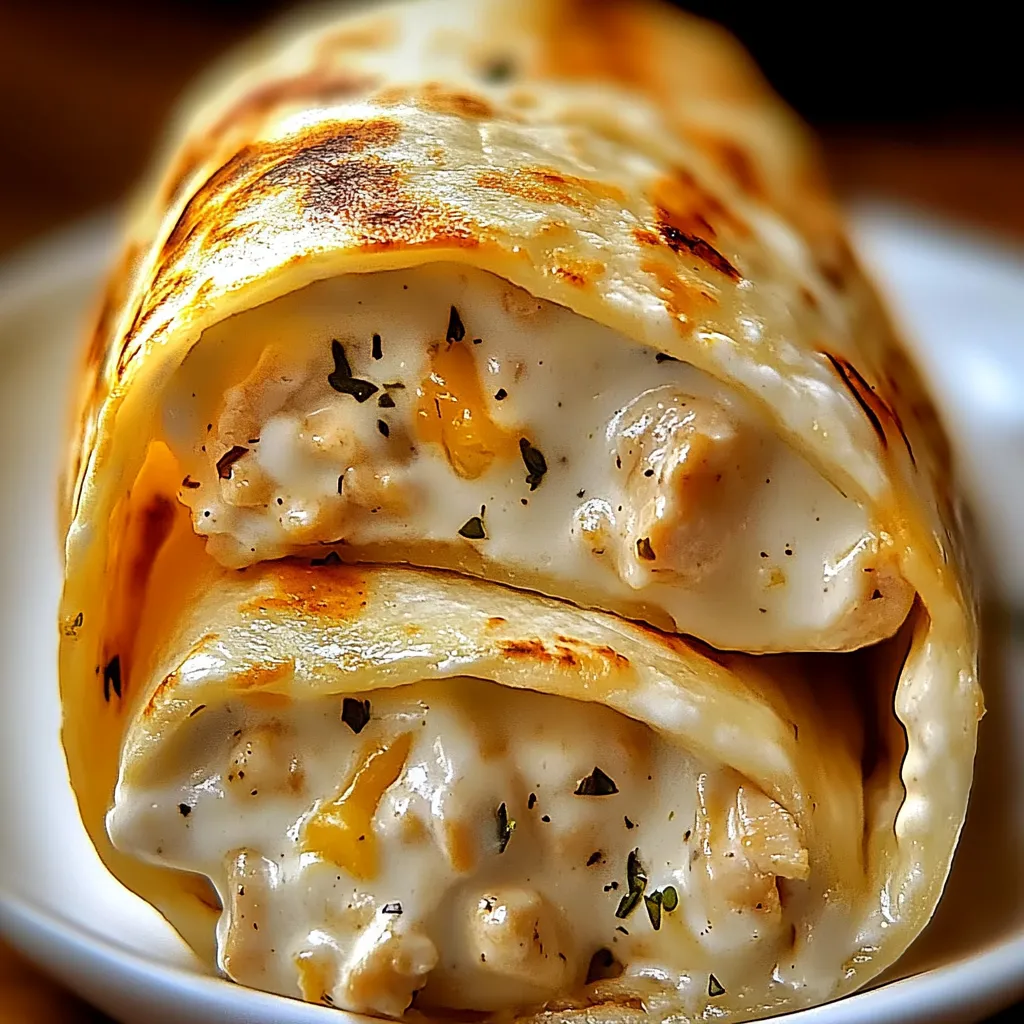
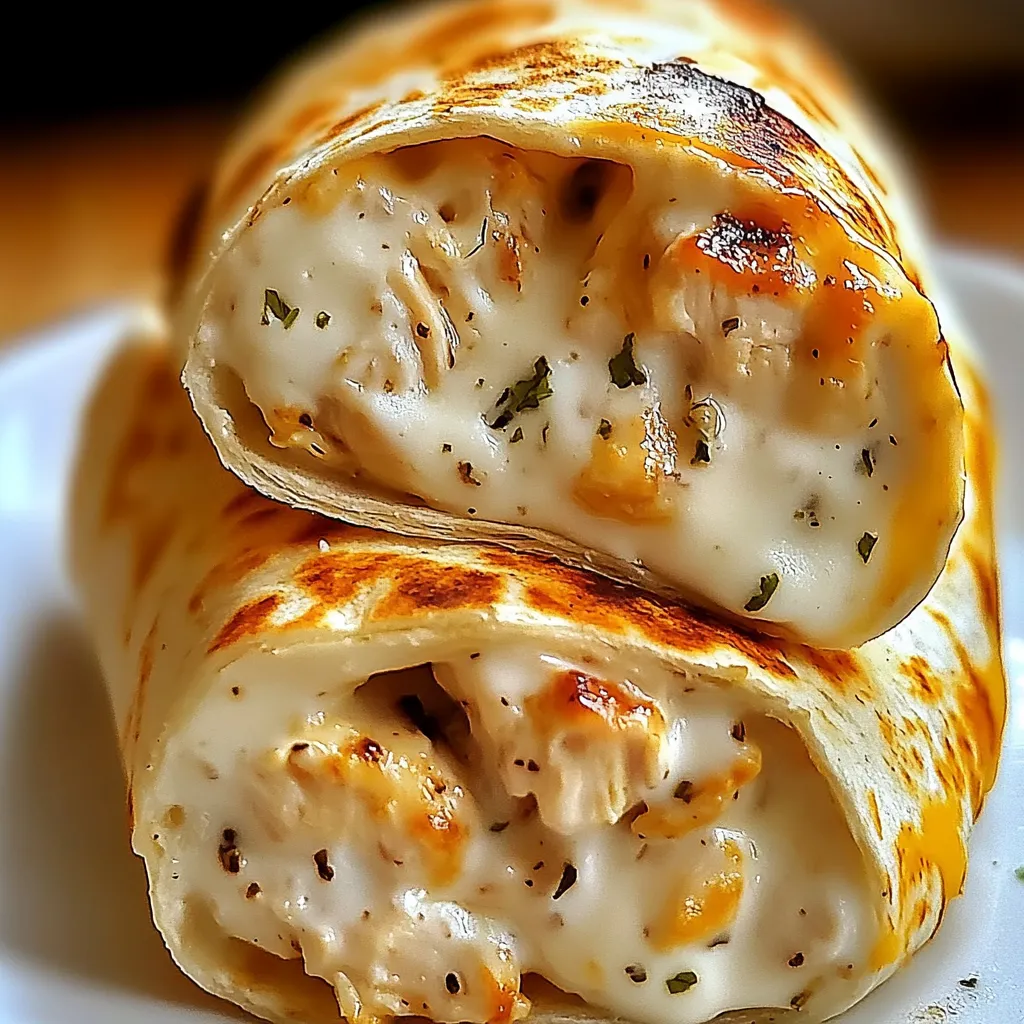
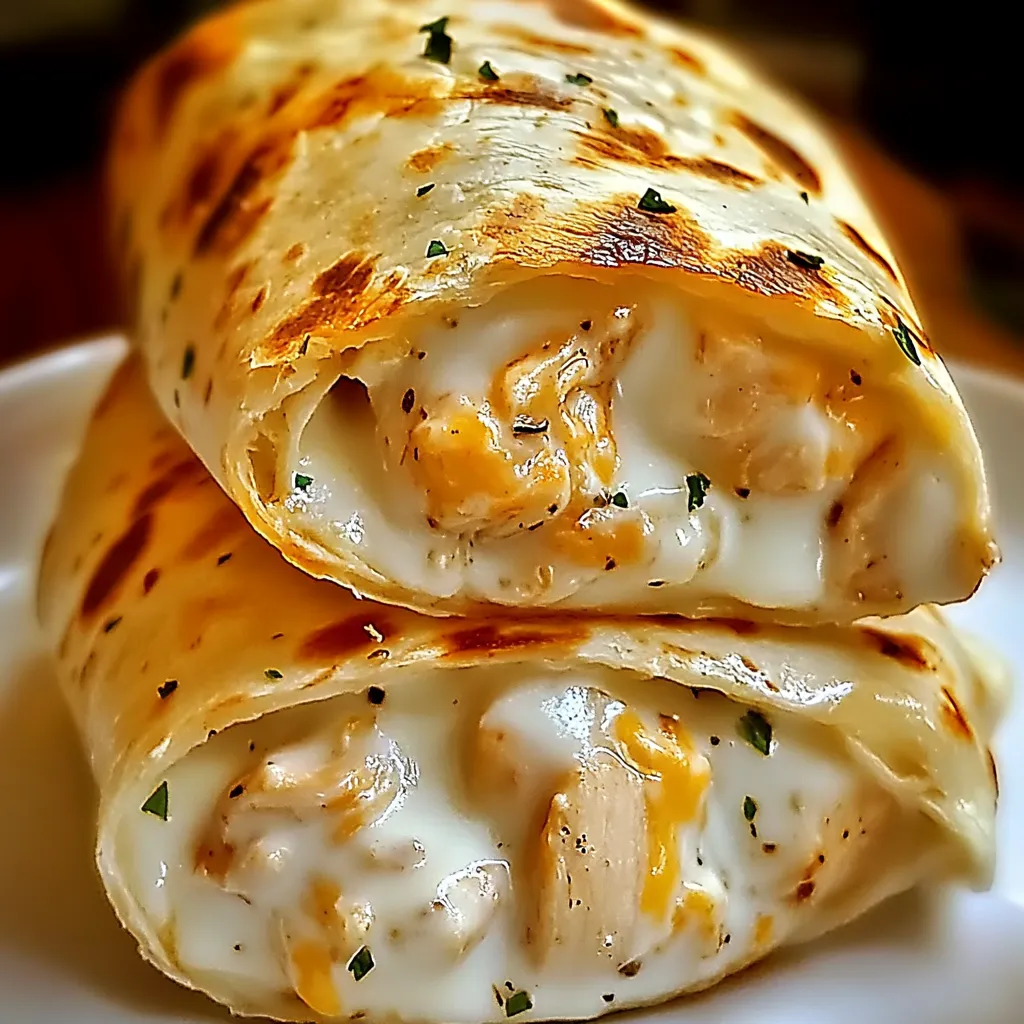
This cheesy garlic chicken wrap recipe transforms simple ingredients into a mouthwatering meal that satisfies both kids and adults alike. The combination of tender chicken, melted cheese, and garlic butter creates a flavor explosion that makes these wraps irresistible for lunch or dinner.
I created this recipe during a particularly busy week when I needed something quick yet satisfying for my family. Now my teenagers request these wraps weekly, even learning to make them themselves when hunger strikes after school.
Ingredients
- Cooked chicken provides the protein foundation. Rotisserie chicken works beautifully for maximum flavor with minimal effort
- Shredded cheese melts perfectly. I recommend a mix of mozzarella and cheddar for the best flavor and stretch
- Cream cheese creates the creamy base that holds everything together while adding richness
- Butter adds that golden finish when cooking the wraps and infuses the garlic flavor throughout
- Fresh garlic cloves provide bright aromatic flavor that dried simply cannot match
- Sour cream adds tanginess to balance the rich ingredients
- Garlic powder reinforces the garlic flavor throughout every bite
- Italian seasoning brings herbal notes without needing multiple spice jars
- Large tortillas work best. Look for the burrito size for proper wrapping
Step-by-Step Instructions
- Sauté Garlic
- Heat your butter in a skillet over medium heat until it begins to foam slightly. Add the minced garlic and cook for exactly 1-2 minutes until it becomes fragrant and just begins to turn golden. Watch carefully during this step as garlic can go from perfectly golden to burnt and bitter in seconds. The butter will take on a beautiful garlic aroma that forms the flavor foundation.
- Heat Chicken
- Add your cooked chicken to the garlic butter, ensuring each piece gets coated. Sprinkle the garlic powder, Italian seasoning, salt and pepper evenly over the chicken while stirring. Let the chicken heat through completely while absorbing all those flavors, about 3-4 minutes. The seasonings will bloom in the warm butter creating an aromatic mixture.
- Mix Cheeses
- In a separate bowl, combine your room temperature cream cheese, sour cream, and half the shredded cheese. Mix thoroughly until completely smooth with no cream cheese lumps remaining. This creates the creamy, cheesy base that will hold everything together and provide that satisfying melty texture.
- Combine Mixtures
- Remove your skillet from heat and transfer the seasoned chicken mixture into your cheese bowl. Fold everything together until uniformly combined. The warm chicken will slightly melt the cheese mixture creating the perfect consistency for spreading in your wraps.
- Assemble Wraps
- Lay each tortilla flat and spread a quarter of the chicken cheese mixture down the center in a rectangular shape, leaving about an inch border around the edges. Sprinkle additional shredded cheese on top. Fold the sides in first, then the bottom up, and roll tightly to create a secure wrap. The tight rolling ensures nothing leaks during cooking.
- Cook Wraps
- Place your assembled wraps seam side down on a medium hot skillet or grill pan. Cook for 2-3 minutes until golden brown, then carefully flip and cook the other side. The heat will crisp the tortilla while melting the interior cheese completely. Press gently with a spatula to seal the edges and ensure even browning.
 Save
Save
The garlic butter is truly what makes these wraps special. I discovered this recipe component by accident when I was low on ingredients and decided to sauté garlic in butter first rather than just adding raw garlic. The depth of flavor it creates transforms these simple wraps into something restaurant worthy that my family now requests weekly.
Customizing Your Wraps
These wraps welcome endless variations based on what you have available. Try adding sautéed bell peppers and onions for a fajita style wrap. Spinach and sun dried tomatoes create a Mediterranean version my daughter loves. For a spicy kick, add jalapeños or chipotle peppers in adobo sauce. The basic cheese and garlic base works beautifully with any protein including ground beef, turkey, or even black beans for a vegetarian option.
Storage and Reheating
These wraps maintain their quality remarkably well. Store assembled but uncooked wraps in the refrigerator for up to 3 days by wrapping each tightly in aluminum foil or plastic wrap. To freeze, wrap individually then place in a freezer bag for up to 2 months. Reheat refrigerated wraps in a skillet over medium heat for 2-3 minutes per side. For frozen wraps, thaw overnight in the refrigerator first or reheat from frozen in a 350°F oven for 15-20 minutes until heated through.
Serving Suggestions
Turn these wraps into a complete meal by pairing with simple sides. A fresh green salad with vinaigrette provides a nice acidic contrast to the rich wraps. For a heartier meal, serve alongside sweet potato fries or a cup of tomato soup for dipping. These wraps also make excellent picnic food when wrapped in foil and enjoyed at room temperature. For parties, slice into pinwheels secured with toothpicks for a crowd pleasing appetizer.
 Save
Save
Recipe Q&A
- → Can I make these cheesy garlic chicken wraps ahead of time?
Yes! You can prepare the filling up to 2 days ahead and store it in the refrigerator. When ready to serve, simply warm the filling, assemble the wraps, and cook them until golden and crispy.
- → What's the best type of tortilla to use?
Large flour tortillas (burrito-size) work best as they're easier to fold and hold more filling. For a healthier option, whole wheat tortillas work well too, though they may be slightly less flexible.
- → Can I use something other than chicken?
Absolutely! This recipe works wonderfully with leftover turkey, shredded beef, or even roasted vegetables for a vegetarian option. The cheesy garlic base complements many protein alternatives.
- → What sides pair well with these wraps?
These wraps pair perfectly with a simple green salad, roasted vegetables, potato wedges, or a light soup. For a complete meal, serve with coleslaw or corn salad in warmer months.
- → How can I make these wraps spicier?
You can easily add heat by mixing in diced jalapeños, red pepper flakes, or hot sauce to the chicken mixture. Another option is to use pepper jack cheese instead of mozzarella or cheddar.
- → Can I freeze these chicken wraps?
Yes, these wraps freeze well! Cool completely, then wrap individually in foil and place in a freezer bag. To reheat, unwrap and microwave for 1-2 minutes or warm in a 350°F oven for about 15 minutes until heated through.