
 Save
Save
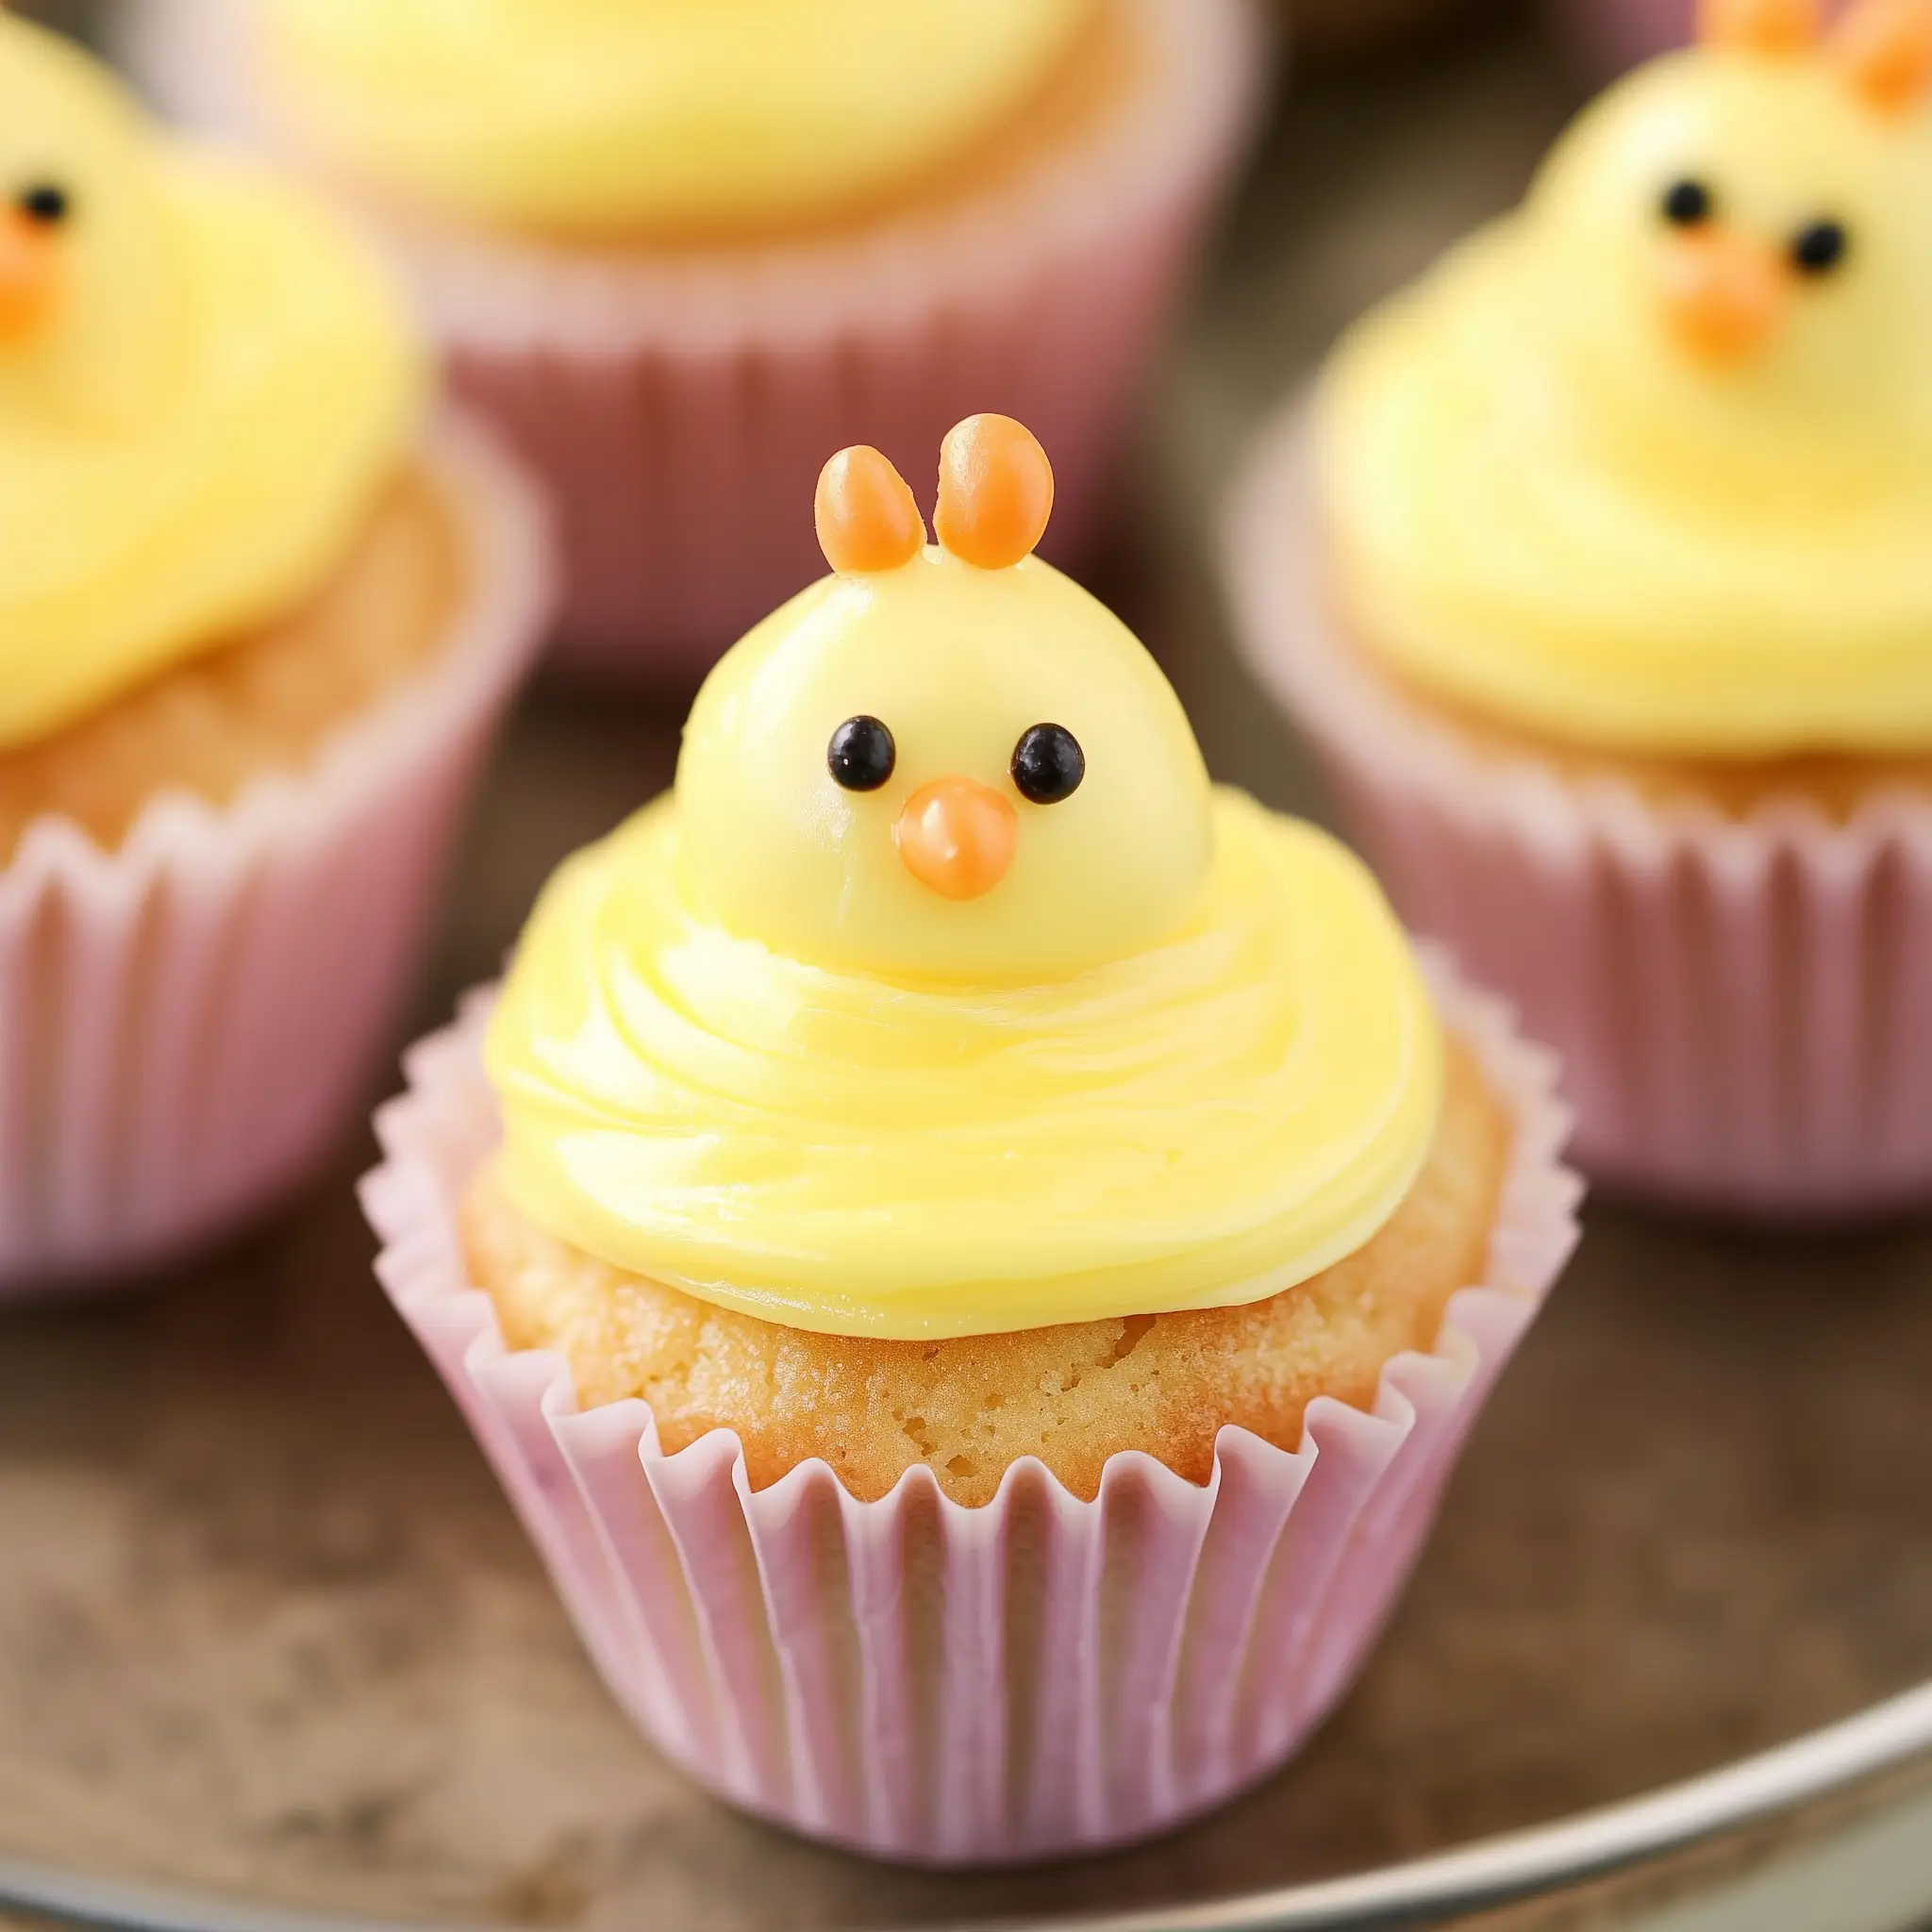
This adorable baby chick vanilla cupcake recipe transforms a simple treat into a charming spring dessert perfect for Easter or any celebration that needs a touch of cute. My small batch recipe yields just 4 cupcakes, making it ideal for small gatherings or when you want just a few special treats without leftovers.
I first made these for my niece's spring birthday party, and they were such a hit that they've become our family tradition for Easter. The kids always gather around to help decorate each little chick face, creating memories that last far longer than the cupcakes themselves.
Ingredients
- Egg provides structure and richness to these tiny cakes
- Buttermilk creates a tender crumb and adds subtle tanginess
- Butter delivers flavor and moisture essential for a perfect cupcake
- Vanilla extract adds warmth and depth to both cake and frosting
- All purpose flour forms the foundation of the cupcake structure
- Baking powder and baking soda work together for the perfect rise
- Granulated sugar sweetens while brown sugar adds moisture and caramel notes
- Yellow food coloring transforms ordinary frosting into sunny chick bodies
- Orange and black food coloring with white chocolate create the adorable features
Look for unsalted butter for both cake and frosting as it allows you to control the salt content. Farm fresh eggs will give you the best flavor and texture in this small batch recipe.
Step-by-Step Instructions
- Prepare The Wet Ingredients
- In a small bowl thoroughly whisk together the 2 tablespoons of egg, buttermilk, melted butter and vanilla until completely combined. Make sure your butter has cooled slightly so it doesn't cook the egg when added.
- Combine With Dry Ingredients
- Add flour, baking powder, baking soda, salt, and both sugars to the wet ingredients. Gently fold these dry ingredients into the wet mixture using a spatula with slow, deliberate strokes until just combined. The batter will be somewhat thick but still pourable. Stop mixing as soon as the dry ingredients disappear to keep your cupcakes tender.
- Fill And Bake
- Distribute the batter between four cupcake liners, filling each about three quarters full. The cupcakes need room to rise without overflowing. Place in a preheated 350°F oven and bake for 15 to 17 minutes. Test for doneness by lightly touching the center of a cupcake it should spring back and not appear wet or shiny.
- Make The Buttercream Frosting
- Beat the room temperature butter for a full three minutes until it becomes noticeably lighter in both color and texture. Gradually add the confectioners sugar while the mixer continues running. Once incorporated increase the speed to high and beat for another two minutes until extremely fluffy. Add the vanilla and milk, continuing to whip until the frosting is light and airy. Divide if needed and tint most of the frosting with yellow food coloring for the chick bodies.
- Create The Decorative Elements
- Melt white chocolate and divide into separate bowls. Color one portion orange for the beaks and feet, and another black for the eyes. Transfer each colored chocolate to a small piping bag with a tiny hole snipped at the tip. On parchment paper, pipe small triangle shapes for beaks, oval shapes for feet, and dots for eyes. Refrigerate until completely firm.
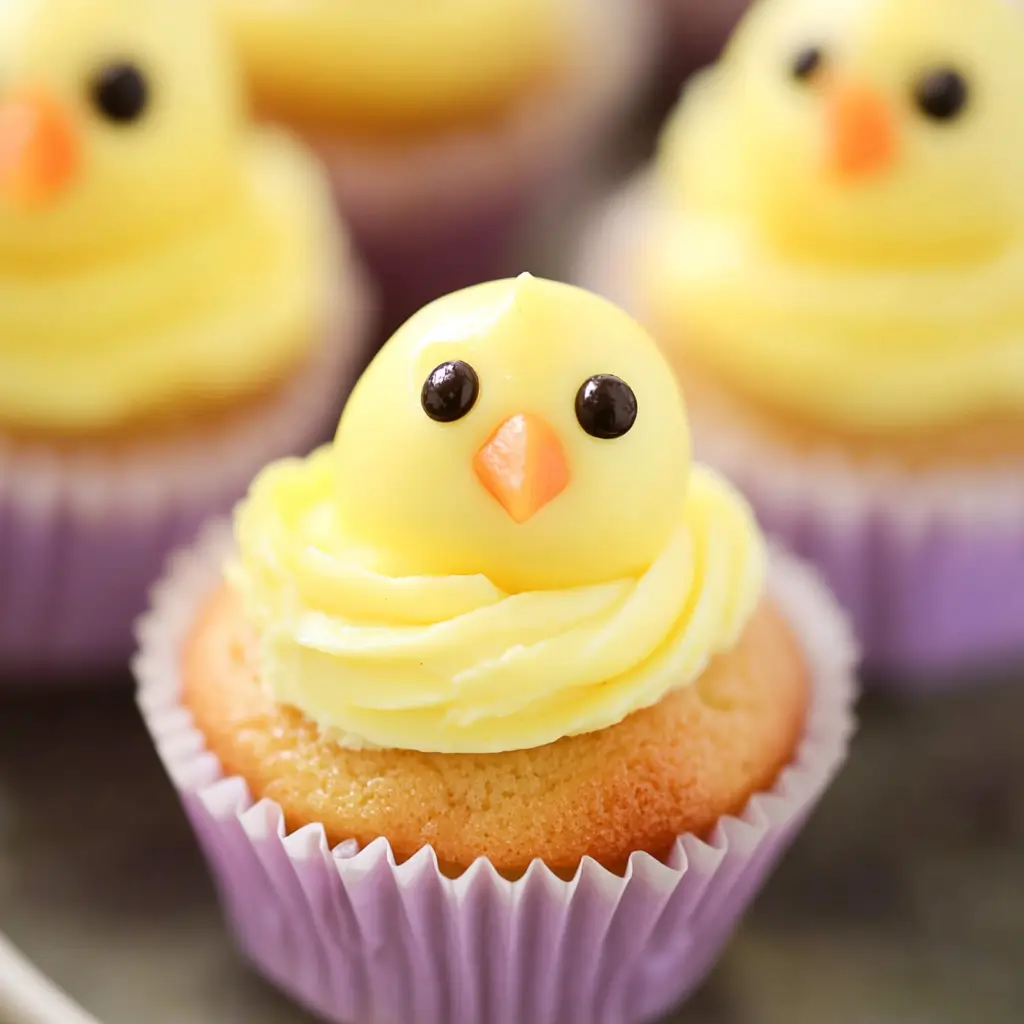
- Assemble The Chicks
- Using a piping bag fitted with a large round tip, pipe a generous dollop of yellow buttercream straight down onto each cooled cupcake to form the chick body. Add a smaller dollop on top to create the head. While the frosting is still soft, gently place the chocolate decorations onto each chick, positioning the eyes on the head, the beak between them, and the feet at the base of the body.
Save
The buttercream is truly the star in this recipe. I discovered that beating the butter for the full three minutes before adding sugar creates an exceptionally light frosting that pipes beautifully. My daughter always asks for extra frosting just to pipe practice chicks on waxed paper pure entertainment for a five year old.
Making Ahead
These charming cupcakes can be prepared in stages if you're pressed for time. Bake the cupcakes a day ahead and store them in an airtight container at room temperature. The buttercream can also be made in advance and kept refrigerated for up to three days just bring it back to room temperature and rewhip before using. The chocolate decorations can be made several days ahead and stored in the refrigerator, which actually makes assembly quicker on the day you plan to serve them.
Substitutions
If buttermilk isn't available, you can easily make your own by adding 1 teaspoon of lemon juice or white vinegar to regular milk and letting it stand for 30 minutes. For an egg free version, substitute the 2 tablespoons of egg with an equal amount of unsweetened applesauce or mashed banana this works surprisingly well while maintaining moisture. Those avoiding food coloring can use natural alternatives like turmeric for yellow, paprika for orange, and activated charcoal or dark cocoa for black though the colors will be more subtle than commercial food dyes.
Serving Suggestions
These baby chick cupcakes create a delightful centerpiece for any spring table arrangement. Place them on a bed of green coconut grass with small chocolate eggs scattered around for an enchanting Easter display. For birthdays or baby showers, arrange the cupcakes in a circle to form a chick family. Serve alongside fresh berries and mint sprigs for a pop of color contrast that makes the yellow chicks stand out even more. These cupcakes pair wonderfully with a glass of cold milk for children or a cup of lavender tea for adults.
Small Batch Baking Tips
The beauty of small batch baking lies in its precision. When working with just 2 tablespoons of egg, I recommend cracking a whole egg into a small bowl, whisking it thoroughly, and then measuring out exactly what you need. Having silicone cupcake liners is incredibly helpful when you dont have a small cupcake pan they stand up on their own on a regular baking sheet. Always set a timer for a minute or two less than the recipe suggests as small batch recipes can bake surprisingly quickly especially in toaster ovens where the heating elements are closer to the food.
 Save
Save
Recipe Q&A
- → Can I make these cupcakes without buttermilk?
Yes! Make your own buttermilk substitute by mixing 1/2 cup regular milk with 1 tablespoon of lemon juice or white vinegar. Let it stand for at least 30 minutes before using in the recipe.
- → How do I store the decorated cupcakes?
Store the decorated cupcakes in the refrigerator for up to 4 days. For the best flavor and texture, allow them to come to room temperature before serving.
- → Can I substitute the egg in this recipe?
Yes, you can replace the 2 tablespoons of egg with the same amount of applesauce or mashed banana for an egg-free version.
- → What if I don't have a small cupcake tray?
Silicone cupcake liners work perfectly as a substitute for a cupcake tray. They stand on their own and can be placed directly on a baking sheet.
- → How far in advance can I make the chocolate decorations?
The chocolate decorations (eyes, beaks, and feet) can be made up to a week in advance. Store them in an airtight container in the refrigerator until ready to use.
- → Can I use different colors for the decorations?
Absolutely! While the traditional baby chick uses yellow, orange, and black, you can customize with any colors you like for creative variations like blue chicks, pink chicks, or even multi-colored designs.