
 Save
Save
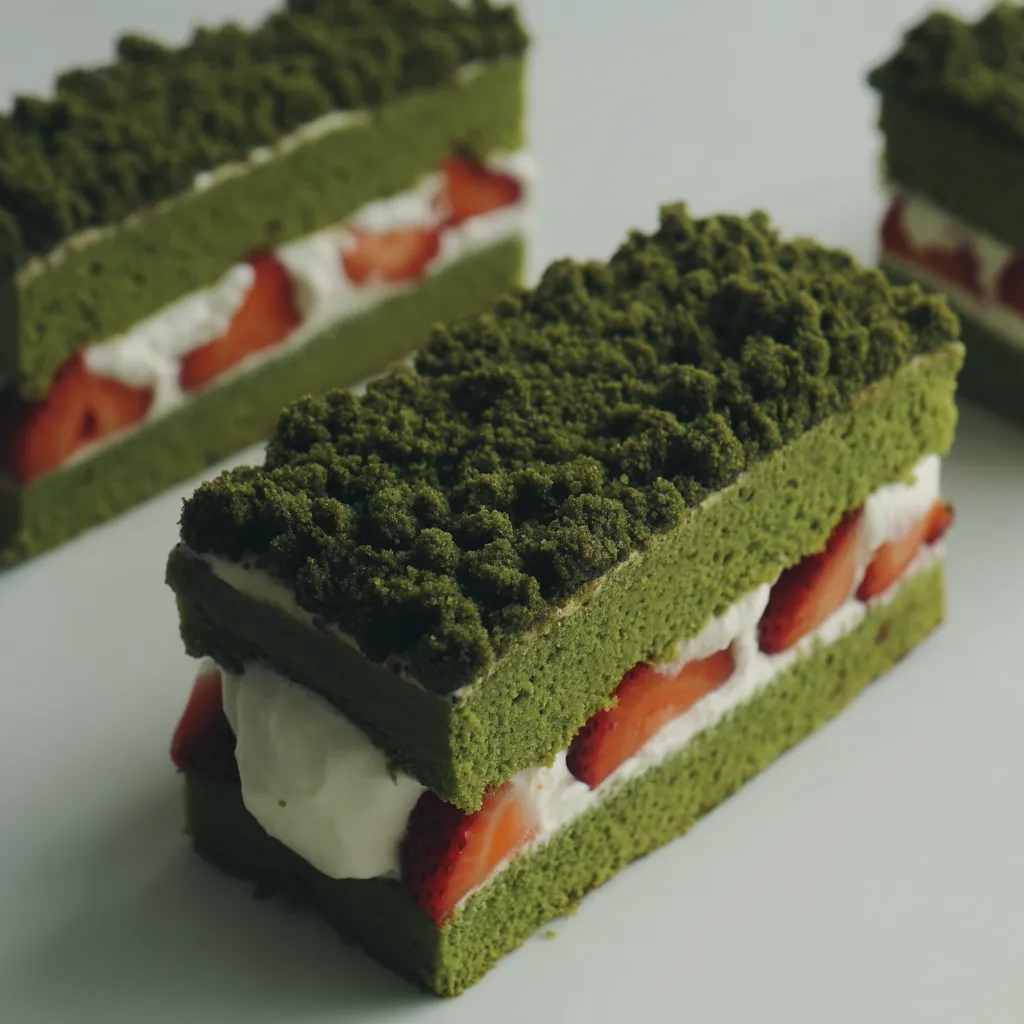
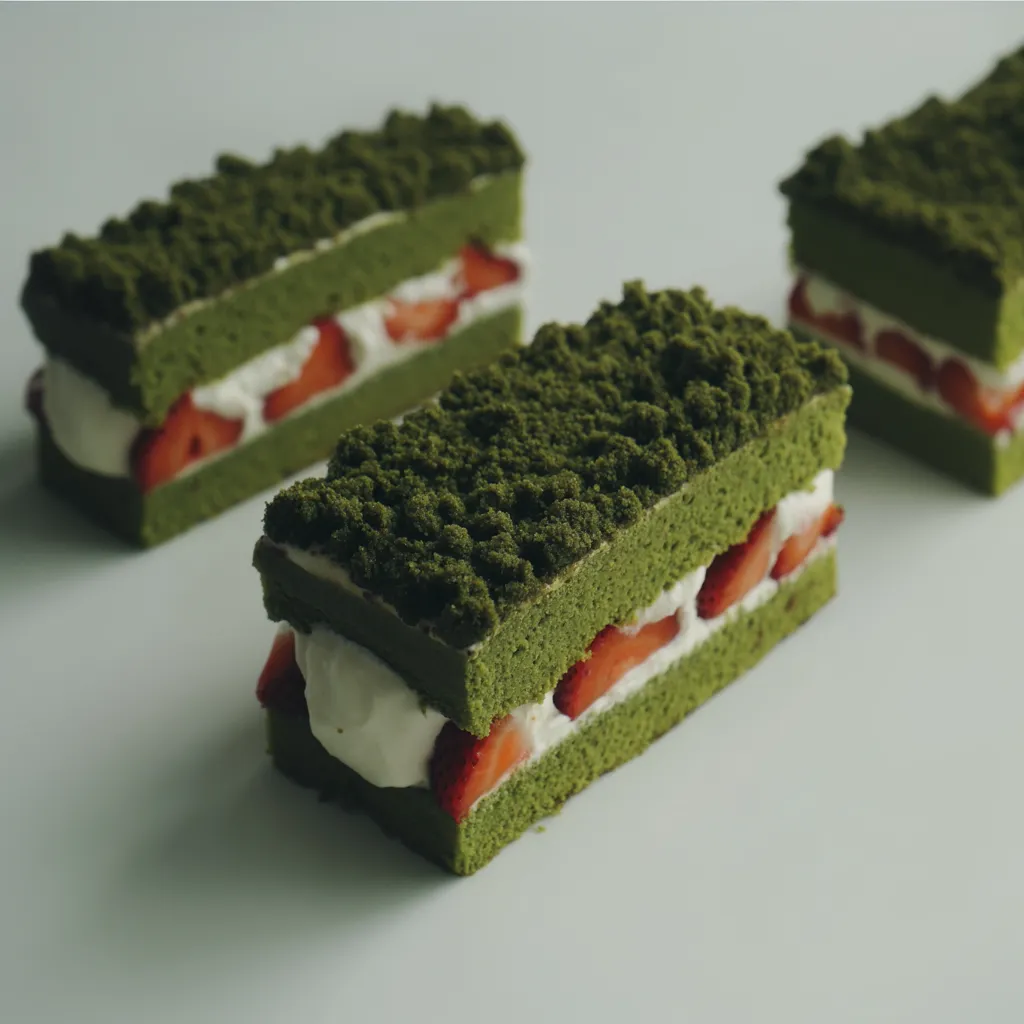
This delicate springtime matcha cake combines the earthy bitterness of green tea with sweet strawberries and light cream for a dessert that's as beautiful as it is delicious. It's my go-to celebration cake when the first berries of spring appear at local markets.
This cake reminds me of my first spring in Japan where I fell in love with matcha desserts. The combination of bitter tea and sweet cream instantly transported me to cherry blossom season, and I've been making this cake every spring since.
Ingredients
- For the Matcha Sponge Cake
- Whole Eggs the key to the cake's structure and lift
- Caster Sugar finer than granulated for a smoother batter
- Cake Flour creates a tender crumb with lower protein content
- Matcha Powder use ceremonial grade for the best color and flavor
- Milk adds moisture to keep the cake soft
- Unsalted Butter for richness without added salt
- For the Chantilly Cream
- Whipping Cream with at least 36% fat content for stable whipping
- Granulated Sugar just enough to sweeten without overshadowing the matcha
- Fresh Strawberries look for bright red berries with minimal white shoulders
- For the Syrup
- Granulated Sugar to create a simple syrup base
- Water to dissolve the sugar
- Liqueur adds depth and prevents the cake from being too dry
Step-by-Step Instructions
- Prepare the Eggs and Sugar
- Place the eggs and sugar in a heatproof bowl over a pot of simmering water. Heat gently to around 35°C while whisking. This process helps dissolve the sugar and increases the eggs' ability to trap air. The mixture should feel warm but not hot to the touch.
- Create the Foam Base
- Transfer the warmed egg mixture to a stand mixer. Begin whipping at high speed until the mixture turns pale and increases dramatically in volume. Reduce to low speed and continue mixing until the batter falls in ribbons from the beater and sits on the surface for a moment before sinking. This can take 8 to 10 minutes total.
- Incorporate Dry Ingredients
- Sift the cake flour and matcha powder together at least twice to remove any lumps. Add the sifted dry ingredients to the egg foam in three batches. Use a large spatula to fold with a gentle cutting motion through the center then around the sides. Rotate the bowl as you fold to ensure everything is evenly distributed without deflating the batter.
- Add Fats
- Warm the milk and butter together until the butter melts completely. The mixture should be warm but not hot. Pour this around the edge of the batter and fold quickly but gently until fully incorporated. The warmth helps maintain the batter temperature while the fats add richness.
- Bake the Cake
- Pour the batter into a lined cake pan from a height of about 6 inches to break any large air bubbles. Tap the pan gently on the counter twice to settle the batter. Bake at 170°C for 30 minutes or until a toothpick inserted comes out clean. The cake should spring back when lightly touched.
- Cool Completely
- Immediately invert the cake onto a cooling rack to prevent shrinking. Allow it to cool completely before removing the pan and any parchment paper. This prevents the delicate structure from collapsing and ensures proper texture.
- Prepare the Filling
- Wash and dry the strawberries thoroughly then slice them in half. Whip the cold cream with sugar until it forms stiff peaks that hold their shape firmly. The cream should be smooth and glossy without looking grainy which indicates overwhipping.
- Assemble the Cake
- Cut the cake horizontally into two slices a 2cm thick base and a thinner 1cm top layer. Mix the syrup ingredients by boiling water and sugar together then adding liqueur once cooled. Brush the syrup generously over the bottom cake layer moistening it completely.
- Layer the Components
- Spread an even layer of whipped cream over the moistened cake. Arrange the strawberry halves cut side down over the cream. Add another layer of cream covering the strawberries completely. Place the thinner cake layer on top and frost the entire cake with the remaining cream.
- Final Decoration
- Crumble any remaining cake or trim edges finely and sprinkle over the top for a beautiful textural contrast. Refrigerate the assembled cake for 2 to 3 hours to allow the flavors to meld and the cake to set up properly before serving.
Save
My grandmother first taught me about the hot water bath technique for eggs which she called "ribbon stage" mixing. She would always let me test if the batter was ready by lifting the beater and watching how the batter fell back into the bowl. That memory makes this recipe especially meaningful to me.
Choosing the Right Matcha
The quality of matcha makes an enormous difference in this cake. Culinary grade matcha will work but ceremonial grade offers a brighter green color and more complex flavor profile. Look for matcha that has been stored in an airtight container and has a vibrant green color rather than dull olive. The freshest matcha will have a sweet grassy aroma and lack any musty notes that indicate age or poor storage. I recommend keeping matcha in the refrigerator to maintain its color and flavor especially if you don't use it frequently.
Make Ahead and Storage
This cake actually improves with a rest in the refrigerator. You can make it up to 24 hours before serving allowing the flavors to meld beautifully. Store the finished cake in the refrigerator covered loosely with a cake dome or inverted bowl to protect the decoration while allowing a little airflow. The cake will stay fresh for up to 3 days though the strawberries are best on day one and two. For longer storage freeze individual slices without cream on parchment paper then transfer to airtight containers. Defrost in the refrigerator and add fresh cream before serving.
Perfect Pairings
This elegant cake pairs wonderfully with Japanese green tea particularly gyokuro or a light sencha which complements the matcha without overpowering it. For a more contrasting pairing try a bright citrus tea like yuzu which highlights the fresh strawberries. If serving with alcohol consider a glass of prosecco or champagne whose bubbles cut through the rich cream or a sweet dessert wine like Moscato dAsti. This cake also works beautifully as part of a larger spring themed dessert table alongside sakura mochi or strawberry daifuku.
 Save
Save
Recipe Q&A
- → What can I substitute for the liqueur in the syrup?
For an alcohol-free version, you can substitute the liqueur with lemon juice, orange extract, or vanilla extract. You could also use a splash of fruit juice like strawberry or raspberry to complement the fresh berries in the cake.
- → Can I make this cake in advance?
Yes, you can prepare this cake 1-2 days in advance. The assembled cake should be stored covered in the refrigerator. The flavors actually develop nicely as it sits, though the cake is best consumed within 2-3 days for optimal freshness.
- → Why do I need to heat the eggs and sugar over a water bath?
Heating the eggs and sugar mixture to about 35°C helps dissolve the sugar completely and creates a more stable foam when whipped. This technique, known as the warm foaming method, results in a more voluminous and stable cake structure with a finer crumb.
- → What type of matcha powder should I use?
For the best flavor and color, use culinary-grade matcha powder. Ceremonial grade matcha can be used as well but is typically more expensive. The higher quality the matcha, the more vibrant the green color and the more pronounced the flavor will be.
- → How do I know when the sponge cake is properly baked?
The cake is done when it springs back when lightly touched in the center and begins to pull away slightly from the sides of the pan. You can also insert a toothpick into the center—it should come out clean or with a few moist crumbs attached.
- → Can I freeze this cake?
Yes, you can freeze the unfrosted sponge cake layers wrapped tightly in plastic wrap for up to 1 month. However, the assembled cake with cream and strawberries doesn't freeze well, as the texture of the cream and fresh fruit will change upon thawing.