
 Save
Save
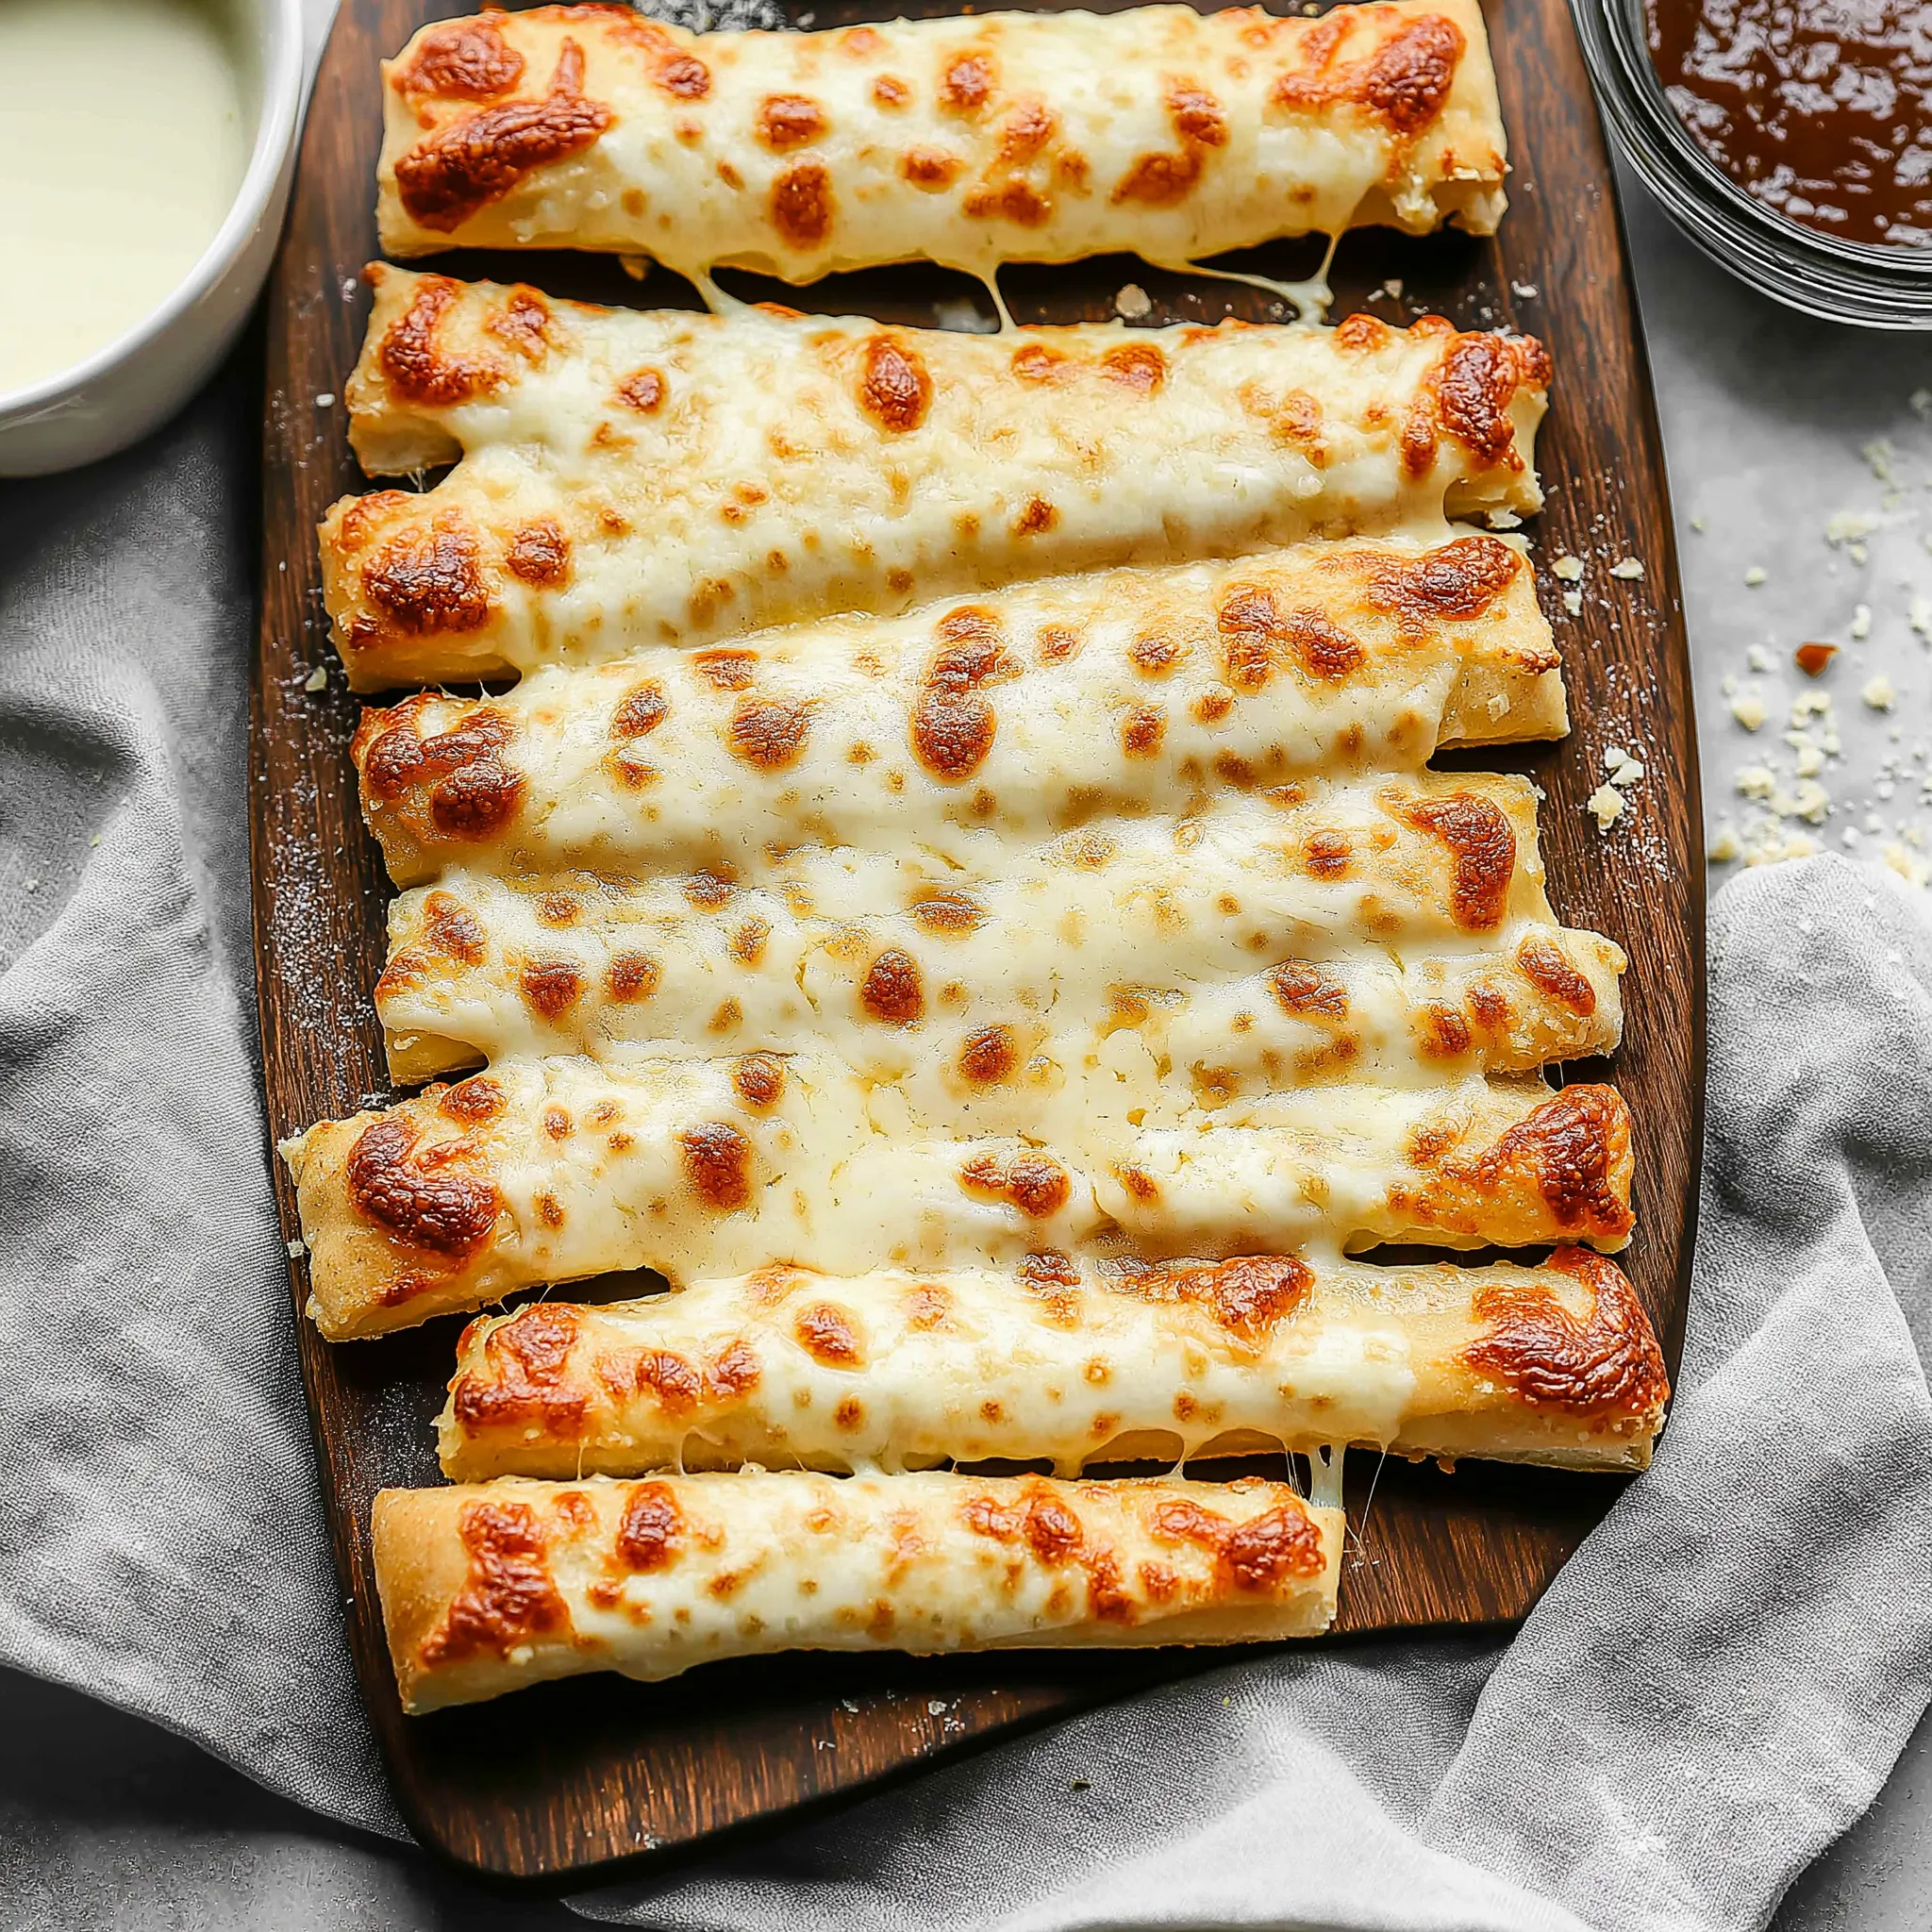
These homemade cheesy garlic breadsticks have transformed my weeknight pizza dinners from ordinary to extraordinary. Soft on the inside with perfectly crisp edges, they deliver that irresistible combination of buttery garlic flavor and gooey stretchy cheese that simply outshines any restaurant version.
I first made these breadsticks when I wanted to elevate a simple spaghetti dinner for unexpected guests. They disappeared within minutes, and now my family specifically requests these as their Friday night treat alongside our homemade pizza.
Ingredients
- Active dry yeast gives these breadsticks their perfect rise and texture. Always check your expiration date for best results.
- Granulated sugar feeds the yeast and helps achieve that golden color when baking.
- Warm water activates the yeast properly. Aim for temperature between 105°F and 110°F for optimal results.
- Olive oil adds richness and helps create that tender interior texture.
- Salt enhances all the flavors and controls yeast activity for better texture.
- White vinegar might seem unusual but it improves the dough structure and creates a more tender result.
- Bread flour creates the perfect chewy texture due to higher protein content. All purpose works too but bread flour gives professional results.
- Salted butter combined with fresh garlic creates that signature flavor base everyone loves.
- Fresh garlic provides aromatic flavor that dried simply cannot match. Mince it very finely for best distribution.
- Parmesan cheese adds a sharp salty note that balances the mild mozzarella perfectly.
- Mozzarella cheese creates that irresistible cheese pull. Fresh shredded melts much better than pre packaged varieties.
Step-by-Step Instructions
- Activate The Yeast
- Combine half cup warm water with sugar and yeast in a large bowl or stand mixer. Allow mixture to rest for 5 minutes until foamy and fragrant. This proofing step ensures your yeast is alive and ready to work. Add remaining water, olive oil, salt and vinegar once yeast is activated.
- Mix The Dough
- Begin mixing on medium low speed while gradually adding flour. Watch the consistency carefully. The dough should clear the sides of the bowl but still feel slightly tacky when touched with a clean finger. Resist adding too much flour which can make breadsticks tough. Knead until smooth and elastic, usually about 5 minutes in a stand mixer or 7 minutes by hand.
- First Rise
- Cover the bowl with a dry kitchen towel and place in a warm draft free area. Let the dough rise until doubled in size, about one hour. The slow rise develops flavor and improves texture dramatically. You can test if dough is ready by gently poking it with your finger. If the indentation remains, the dough is ready.
- Shape The Breadsticks
- Preheat oven to 475°F with a pizza stone or upside down cookie sheet inside. This high heat creates professional results. Gently punch down risen dough to release air bubbles. Place a large piece of parchment paper on your counter and use your hands to press and stretch dough into a rectangle approximately one third inch thick. Work gently to maintain air bubbles for a light texture.
- Add Toppings
- Mix melted butter with minced garlic in a small bowl until well combined. Spread this mixture evenly across entire surface of dough, reaching all the way to edges. This garlic butter base creates incredible flavor in every bite. Sprinkle parmesan cheese evenly over butter layer, followed by generous covering of mozzarella cheese. The combination of both cheeses creates perfect flavor depth.
- Bake To Perfection
- Carefully transfer the prepared dough still on parchment paper onto the preheated pizza stone or baking sheet. Bake for 8 to 12 minutes, watching closely as oven temperatures vary. Look for golden brown edges and bubbly melted cheese. The cheese should have some brown spots for maximum flavor development. Let cool for just 1 minute before cutting to allow cheese to set slightly.
Save
The white vinegar in this recipe is my secret weapon ingredient. I discovered its importance after trying dozens of breadstick recipes that never quite matched restaurant quality. That tiny half teaspoon creates a subtle tanginess and improves the dough structure in ways you can absolutely taste but never quite identify.
Make Ahead Options
These breadsticks offer excellent make ahead flexibility for busy households. The dough can be prepared up to 3 days before baking and stored in the refrigerator during the rise time. This slow, cold fermentation actually improves flavor development and creates an even better texture. Simply remove the dough from the refrigerator about 30 minutes before shaping to take the chill off. The shaped unbaked breadsticks can also be refrigerated for up to 2 hours before baking, making them perfect for entertaining.
Storage Solutions
Leftover breadsticks stay surprisingly well when properly stored. Keep them in an airtight container at room temperature for up to 2 days. For longer storage, refrigerate in a sealed container for up to 5 days. To reheat, place in a 350°F oven for about 5 minutes until warmed through and cheese is melty again. Avoid microwave reheating which can make them tough. Freezing works beautifully too. Flash freeze cut breadsticks on a baking sheet for 30 minutes, then transfer to freezer bags for up to 3 months.
Serving Suggestions
These versatile breadsticks complement countless meals beyond the expected pizza night. Serve alongside hearty soups like minestrone or tomato basil for a satisfying meal. They make excellent dippers for creamy spinach artichoke dip at parties. For a lighter option, pair with a Caesar salad for a simple lunch. My family's favorite way to enjoy them is alongside spaghetti bolognese, using the breadsticks to soak up every bit of sauce. For entertaining, cut into narrow strips and serve standing in a tall glass for an impressive presentation.
Troubleshooting Tips
If your dough isn't rising properly, your kitchen may be too cold. Create a warm environment by preheating your oven to its lowest setting for 2 minutes, then turning it off and placing the covered dough inside. The gentle ambient heat creates perfect rising conditions.
 Save
Save
Recipe Q&A
- → Can I use all-purpose flour instead of bread flour?
Yes, you can substitute all-purpose flour for bread flour in this recipe. Bread flour will give you a slightly chewier texture due to its higher protein content, but all-purpose flour works perfectly well.
- → Why does the recipe include vinegar in the dough?
The small amount of vinegar helps develop the gluten in the dough, resulting in a better texture. It also enhances flavor and helps with preservation. Don't worry - you won't taste it in the final product.
- → Can I make these breadsticks ahead of time?
Yes! You can make the dough 3-4 hours ahead and let it rise in the refrigerator. Alternatively, you can freeze the dough for 2-3 months - just thaw overnight in the refrigerator and let it sit at room temperature for 30 minutes before shaping.
- → What if I don't have a pizza stone?
An upside-down cookie sheet works as a great alternative to a pizza stone. The key is preheating it in the oven to create a hot surface that will help the bottom of the breadsticks crisp up properly.
- → How do I know when the breadsticks are done baking?
The breadsticks are done when they're golden brown and the cheese is bubbly, typically after 8-12 minutes at 475°F. The bottom should be crisp and the edges should have some color, while the interior remains soft and chewy.
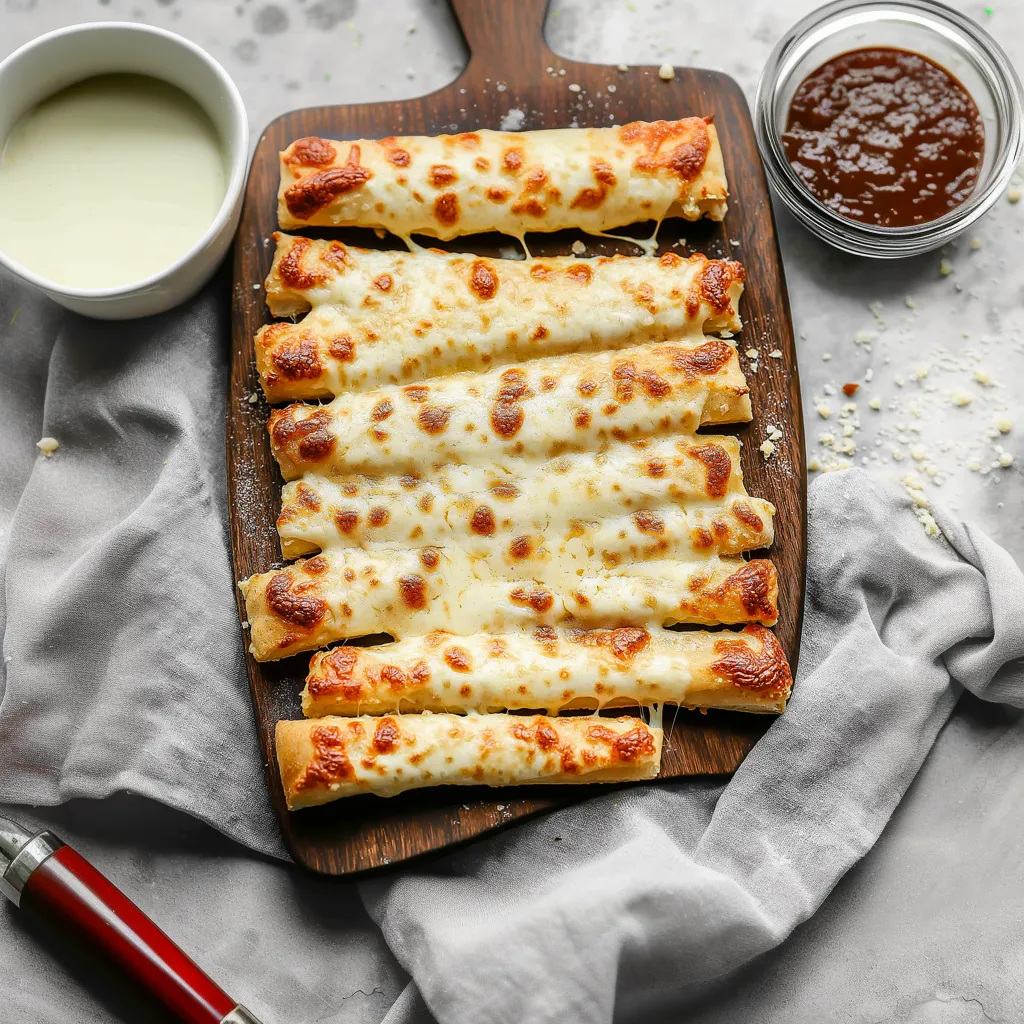
- → What dipping sauces work best with these breadsticks?
Marinara sauce and ranch dressing are classic pairings, but garlic butter, alfredo sauce, or even a spicy arrabbiata also complement these breadsticks beautifully.